Learn cornstalk doll weaving with patient guidance

We teach traditional techniques step by step, from gathering dried husks to tying the final skirt. No prior experience needed — just curiosity and a willingness to learn by doing.

  • Clear step-by-step guides
  • Community-tested methods
  • Natural materials only
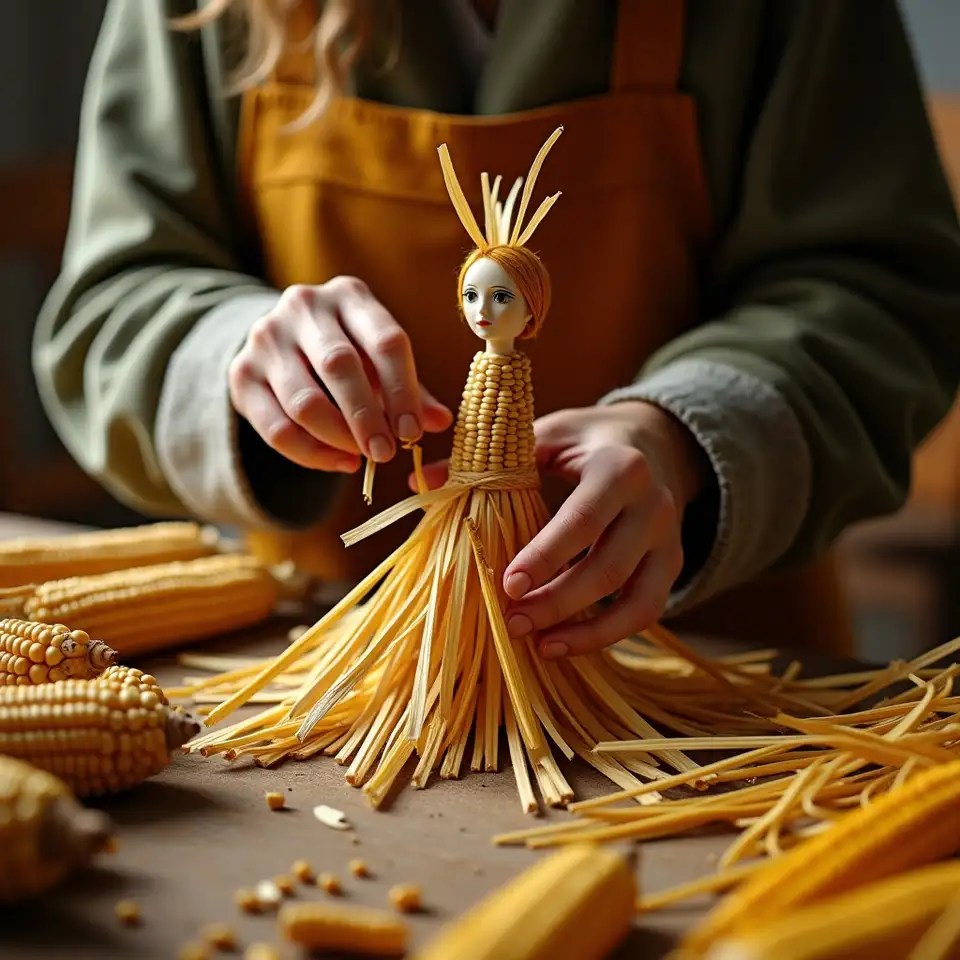
Beginner hands weaving corn husk doll
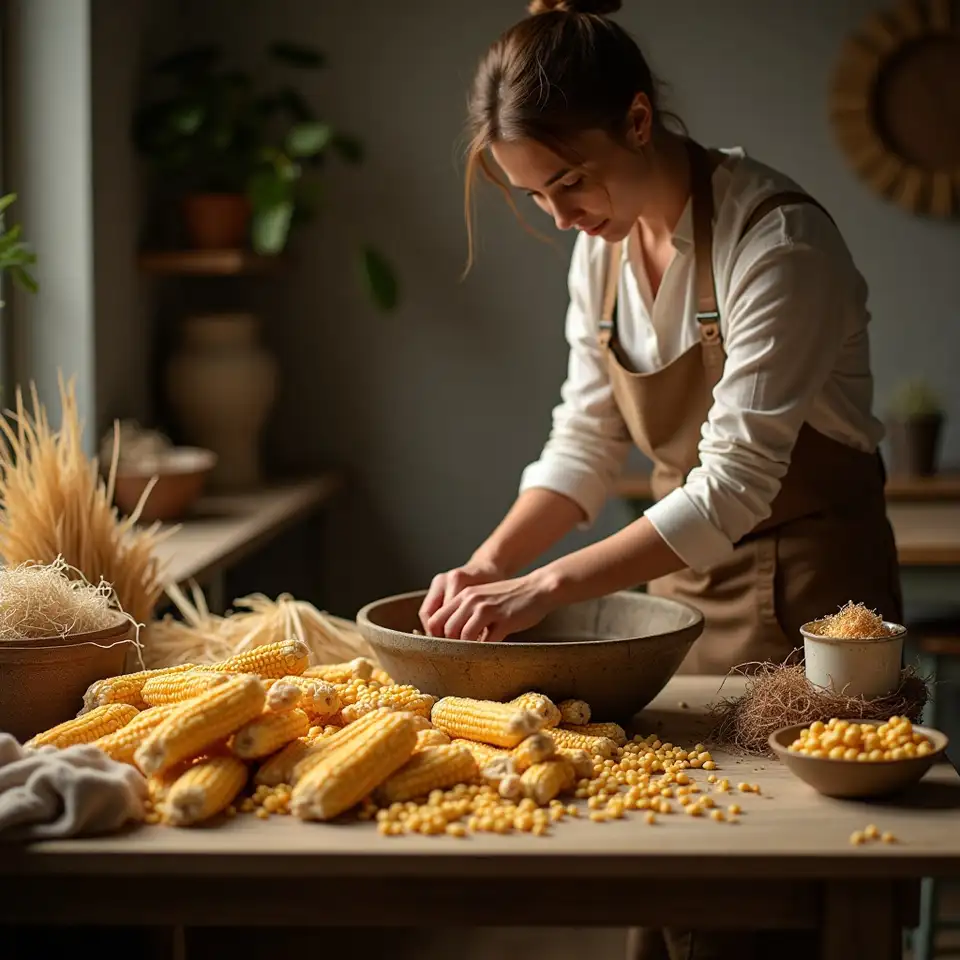
Preparing dried corn husks for weaving
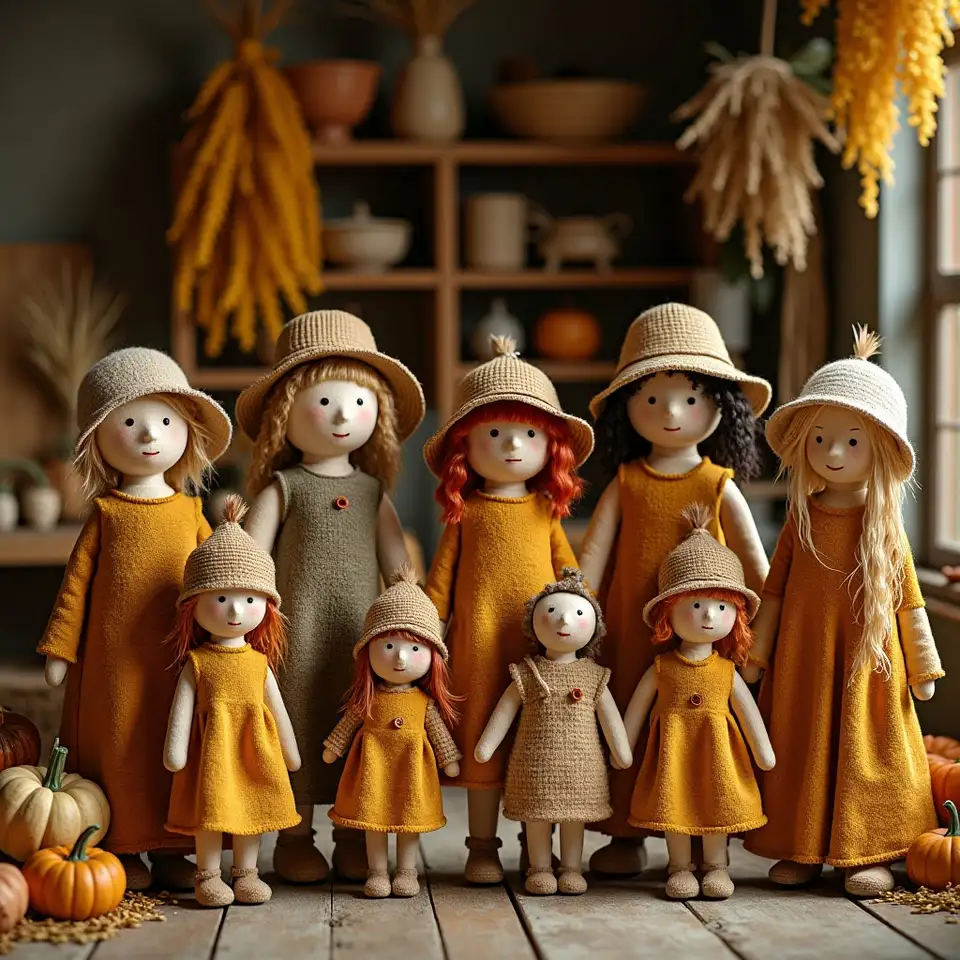
Collection of finished cornstalk dolls

Your path from first fold to finished doll

Expert advice for better dolls

1

Select husks with intact edges

Torn or brittle edges fray during folding and create weak points in your doll. Choose husks that are pale, flexible, and free from mold spots.

2

Control moisture carefully

Too dry and husks crack; too wet and they stretch and lose shape. Aim for supple flexibility that holds a fold without springing back.
3

Tie firmly but not too tight

Over-tight twine cuts into damp husks and weakens the structure. Secure enough to hold shape, knowing the material tightens further as it dries.

4

Dry slowly in stable air

Rapid drying in direct heat causes warping and cracking. Place finished dolls in a warm, ventilated space away from sunlight and heating vents.

5

Embrace imperfection

Natural materials vary in color, width, and texture. These irregularities give each doll character and distinguish handmade work from uniform factory products.

The roll-and-tie method forms the basis of most traditional figures. A central husk is rolled into a cylinder for the head, then additional layers are wrapped and secured to build the torso. This approach creates a solid core that supports arms, skirts, and accessories without collapsing.

Arm placement varies significantly between regional styles. Some traditions insert arms through slits in the torso, while others wrap them around the outside and tie them in place. Each method produces a different silhouette and affects how the doll balances when displayed.

Skirt construction determines the overall character of the harvest doll. Overlapping layers create fullness and movement, while fewer layers produce a slender, elegant figure. The direction of overlap matters — husks should point downward naturally, as they grew on the ear.
Facial details range from simple ink dots to elaborate painted expressions. Many traditional dolls have no face at all, relying on posture and proportion to suggest personality. This minimal approach honors the material and keeps the focus on form rather than decoration.

Structural integrity comes from understanding how dried husks behave over time. As moisture evaporates, the material shrinks and tightens around ties. Account for this contraction during construction by leaving slight slack in initial folds that will snug up as drying completes.

Common questions

A properly dried and stored doll lasts several years. Keep it away from direct sunlight and humidity extremes. Eventually natural materials degrade, which is part of the craft's sustainable character.
Yes, dried husks sold for tamale preparation work well. Soak them longer than home-dried stalks, as commercial drying often makes them very brittle.

Only scissors and twine or string are essential. Some weavers use blunt needles for tight spaces, but fingers and patience suffice for every pattern we publish.

Children aged eight and older typically manage the folding and tying with supervision. Younger children enjoy decorating finished dolls while adults handle structural work.
Display in a dry location away from direct sun. Avoid varnishes or sealants that trap moisture and accelerate decay. The natural lifespan is part of the tradition.